Beginner's Guide: Crafting handmade soap at Home

Crafting handmade soap at home is a rewarding and creative process that allows you to customize the ingredients and scents to suit your preferences. To get started, you will need basic supplies such as soap base, essential oils, colorants, molds, and a double boiler. Follow these simple steps to create your own luxurious handmade soap:
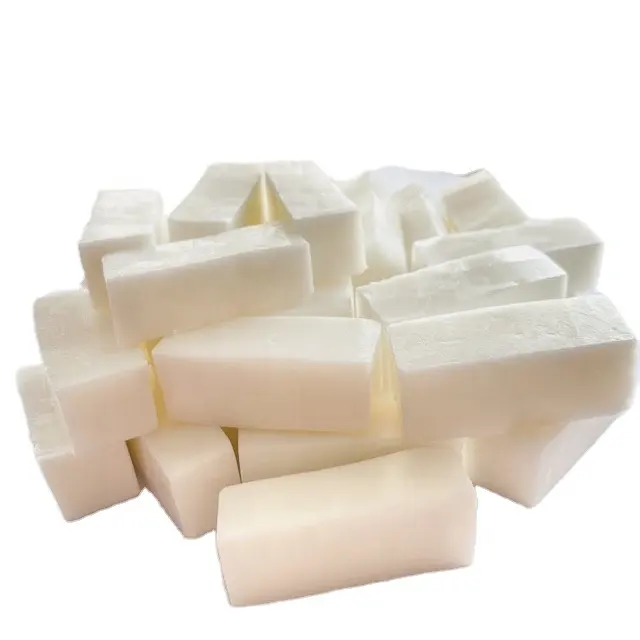
Step 1: Choose a soap base - opt for a melt-and-pour soap base for beginners as it's easy to work with.
Step 2: Melt the soap base using a double boiler or microwave in short bursts, stirring occasionally.
Step 3: Once the soap base is melted, remove it from the heat source and let it cool slightly before adding your desired essential oils and colorants. Stir gently to ensure they are evenly distributed throughout the mixture.
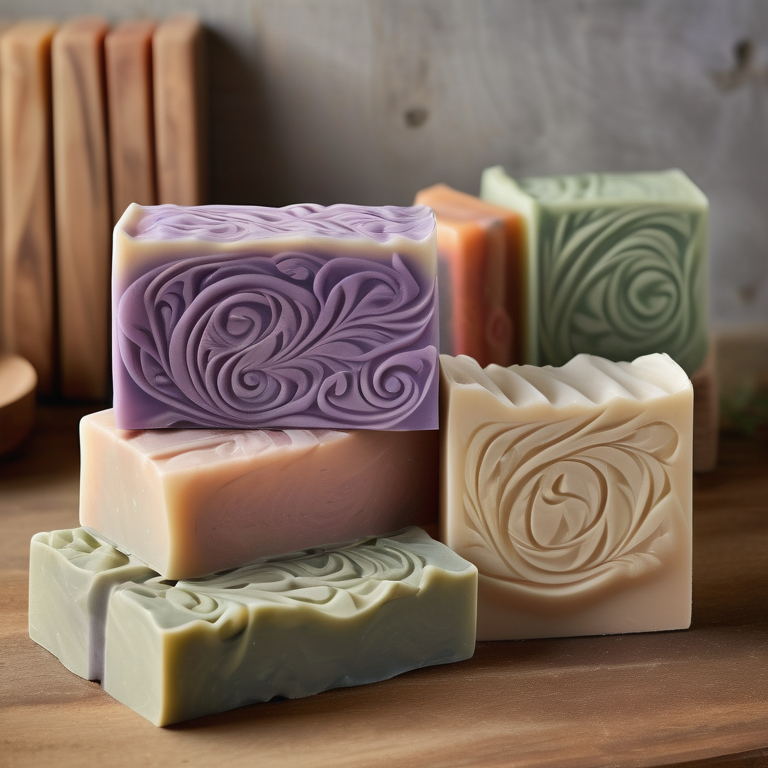
Step 4: Pour the soap mixture into molds of your choice. You can get creative with different shapes and sizes to make your soaps unique.
Step 5: Allow the soap to harden and cool completely in the molds before removing them. This usually takes a few hours depending on the size of the soap and room temperature.
Step 6: Once hardened, carefully pop the soaps out of the molds and your handmade soap is ready to use or gift to loved ones. Remember to store them in a cool, dry place to prolong their shelf life. Experiment with different scents, colors, and additives like dried herbs or exfoliants to create one-of-a-kind soaps that cater to your skin's needs. Enjoy the process of crafting your own handmade soap and watch as it becomes a delightful addition to your self-care routine. Crafting handmade soap at home is a fulfilling and creative endeavor that allows you to personalize your self-care routine. By selecting quality ingredients and following a few simple steps, you can create luxurious soaps tailored to your preferences. Get ready to embark on a journey of scent exploration and artistic expression as you experiment with various essential oils, colorants, and additives. Let the soothing process of soap making inspire you to indulge in moments of self-care while gifting yourself and others with the nourishing benefits of handmade soap. Crafting handmade soap at home is a fulfilling and creative endeavor that allows you to personalize your self-care routine. By selecting quality ingredients and following a few simple steps, you can create luxurious soaps tailored to your preferences.
Slightly before adding your desired essential oils and colorants, stir gently to ensure they are evenly distributed throughout the mixture. Pour the soap mixture into molds of your choice, getting creative with different shapes and sizes to make your soaps unique. Allow the soap to harden and cool completely in the molds before removing them, usually taking a few hours depending on size and room temperature Crafting handmade soap at home provides a wonderful opportunity to tailor your self-care routine to your preferences. As you embark on this creative journey, consider experimenting with various scents, colors, and additives such as dried herbs or exfoliants to create unique soaps that cater to your skin's needs.
Before adding essential oils and colorants to your soap mixture, remember to stir gently to ensure even distribution. Let your creativity shine by pouring the mixture into molds of different shapes and sizes, making each soap uniquely yours.
Allow the soaps to harden and cool completely in the molds before removing Crafting handmade soap at home is a delightful fusion of creativity and self-care. The process of creating your personalized soaps using quality oils, colorants, and additives is not only rewarding but also therapeutic. Before incorporating essential oils and colorants into your soap mixture, a gentle stir ensures an even distribution for a consistent finish. Pour the mixture into molds of varied shapes to infuse personality into each soap. Give yourself the gift of time as you allow the soaps to solidify and cool in the molds before unveiling your unique creations. Experiment with different scents and textures to curate soaps that embody your individuality and cater to your skin's specific needs. From lavender-infused relaxation to invigorating citrus blends, the possibilities are endless. Add a touch of luxury with exfoliants like oatmeal or coffee grounds for a spa-like experience at home. Remember, patience is key as you wait for your handmade soaps to set and cure before indulging in their luxurious lather. With each batch, you refine your craft and enhance your self-care rituals, making each shower a rejuvenating experience tailored to you.
Key Highlights
-
Making handmade soap at home is a fun and cost-effective hobby that allows you to customize the ingredients and scents.
-
Understanding the basics of soap making, including the saponification process and the use of lye, is essential for successful soap making.
-
There are two main methods of soap making: cold process and hot process, each with its own advantages and techniques.
-
Before making your first batch of soap, it's important to gather the necessary equipment, such as stainless steel pans and immersion blenders, and take safety measures, including using rubber gloves and safety goggles.
-
Selecting the right ingredients for your soap, such as oils and butters, as well as lye, is crucial for achieving the desired results.
-
Following a step-by-step guide, from setting up your workspace to pouring and curing the soap, will ensure a successful soap making experience.
-
Customizing your soap with fragrances, colors, and additives allows you to create unique and personalized creations.
-
Unmolding, cutting, and curing your soap are important final steps in the soap making process.
-
Troubleshooting common soap making problems, such as addressing trace issues or fixing separation and ricing, will help you overcome any challenges you may encounter.
-
Frequently asked questions, such as whether it's possible to make soap without lye, provide additional insights for beginners.
-
Crafting handmade soap at home is a rewarding and creative hobby that allows you to make personalized and unique products for yourself and others.
Introduction
Soap is a common part of our daily hygiene routine, helping to remove sweat and dirt from our skin. While there are plenty of soap options available in stores, making your own handmade soap at home can be a fun and rewarding experience. Not only does it allow you to customize the ingredients and scents, but it can also be a cost-effective alternative to buying commercial soap.
In this beginner's guide, we will walk you through the process of crafting handmade soap at home. We will start by understanding the basics of soap making, including the saponification process and the use of lye. Then, we will explore the two main methods of soap making: cold process and hot process. We will also discuss the essential equipment and safety measures you need to take before making your first batch of soap.
Next, we will delve into selecting the right ingredients for your soap, including oils, butters, and lye. We will provide a step-by-step guide to making your first soap, from setting up your workspace to pouring and curing the soap. Additionally, we will discuss how to customize your soap with fragrances, colors, and additives, as well as the final steps of unmolding, cutting, and curing your soap.
Throughout this guide, we will address common soap making problems and provide solutions to help you troubleshoot any issues you may encounter. Finally, we will answer some frequently asked questions to provide further insights for beginners.
Understanding Soap Making Basics
Soap making is a fascinating process that involves a chemical reaction known as saponification. This reaction occurs when fat or oil is combined with an alkali, such as sodium hydroxide (lye). The result is the creation of soap, a substance that can effectively remove dirt and oils from the skin.
The saponification process begins by combining the fat or oil with a lye solution. In the case of bar soap, the lye used is sodium hydroxide, while liquid soap requires potassium hydroxide. When the fat or oil and lye solution are mixed together and heated, a chemical reaction occurs. This reaction breaks down the fat molecules and forms soap molecules, as well as glycerin, a natural byproduct of the saponification process.
It's important to note that lye is a highly corrosive substance that can be dangerous if not handled properly. However, when used in soap making, it undergoes a chemical transformation and is no longer present in the final product. This is why it is crucial to accurately measure and use the correct amount of lye in your soap making process.
The saponification process is the key to creating soap, but it also requires the right combination of oils and fats. Different oils and fats have different properties and contribute to the final characteristics of the soap. For example, olive oil produces a mild and moisturizing soap, while coconut oil creates a soap with a rich lather.
To ensure a successful soap making process, it's important to use a digital scale to accurately measure the ingredients. Precise measurements of the oils, fats, and lye are crucial for achieving the desired results. Additionally, it's essential to mix the lye and oils at the correct temperatures and to follow the specific instructions for the soap recipe you are using.
By understanding the basics of soap making, including the saponification process and the importance of accurate measurements and temperatures, you can confidently embark on your soap making journey.
The Science Behind Soap Making
Soap making is a fascinating blend of chemistry and artistry. At its core, soap making is a chemical reaction called saponification. This reaction occurs when fats or oils are combined with an alkali, such as sodium hydroxide (lye), and heated.
During saponification, the fats or oils are broken down into fatty acids and glycerin. The fatty acids then react with the alkali to form soap molecules. The glycerin is a natural byproduct of this reaction and remains in the soap, contributing to its moisturizing properties.
The type and combination of oils and fats used in soap making determine the properties of the final soap. For example, olive oil produces a mild and moisturizing soap, while coconut oil creates a soap with a rich lather. The amount of lye used must be carefully calculated to ensure saponification occurs and that no lye remains in the final product.
Understanding the science behind soap making is important for achieving successful results. By following proper measurements, temperatures, and techniques, you can create high-quality handmade soap at home.
Cold Process vs. Hot Process Soap
When it comes to soap making, there are two main methods: cold process and hot process. Each method has its own advantages and techniques, allowing you to choose the process that best suits your preferences and needs.
Cold process soap:
-
Involves mixing the oils and lye solution at room temperature and allowing the soap to cure over several weeks.
-
Offers more design possibilities, as it allows for the addition of swirls, layers, and other intricate patterns.
-
Requires a longer curing time, typically 4 to 6 weeks, to allow the soap to harden and for excess water to evaporate.
-
Produces a smoother and more refined appearance compared to hot process soap.
-
Requires careful temperature control during the saponification process to prevent the soap from overheating and losing its desired properties.
Hot process soap:
-
Involves cooking the soap mixture in a slow cooker or double boiler to accelerate the saponification process.
-
Results in a faster turnaround time, as the soap can be used the next day, though it's ideal to wait 1 week for a harder bar.
-
Allows for the addition of fragrance oils or essential oils at the beginning of the cooking process, resulting in a stronger scent.
-
Has a more rustic and homemade appearance compared to cold process soap.
-
Requires constant monitoring during the cooking process to prevent burning or scorching of the soap mixture.
Whether you choose cold process or hot process soap making, both methods can produce high-quality handmade soap. The choice ultimately depends on your preference for design, turnaround time, and appearance.
Preparing to Make Your First Batch of Soap
Before diving into the soap making process, it's important to prepare yourself and your workspace. Taking the necessary precautions and gathering the essential equipment will ensure a safe and successful soap making experience.
Essential Equipment for Soap Making
Soap making requires specific equipment to ensure accurate measurements and safe handling of ingredients. Here are some essential tools and equipment you'll need:
-
Stainless steel pans or pots: Essential for heating and mixing the oils and lye solution. Avoid using aluminum or other reactive materials.
-
Digital scale: Accurate measurements are crucial in soap making. A digital scale allows you to measure the oils, fats, and lye precisely.
-
Immersion blender: Also known as a stick blender, this tool is used to mix the oils and lye solution, ensuring a thorough and even blend.
-
Candy thermometer: Helps monitor the temperature of the soap mixture during the saponification process.
-
Silicone molds: Used to pour the soap mixture and create various shapes and sizes for your soap bars.
-
Soap cutter: Allows you to cut the soap into uniform bars.
-
Safety goggles: Protect your eyes from any potential splashes or fumes during the soap making process.
-
Rubber gloves: Protect your hands from direct contact with lye and other potentially irritating ingredients.
By having the essential equipment on hand, you can confidently begin your soap making journey.
Safety Measures for Beginners
Safety is paramount when working with lye and other potentially hazardous materials during the soap making process. Here are some important safety measures to follow:
-
Wear rubber gloves: Protect your hands from direct contact with lye and other potentially irritating ingredients.
-
Use safety goggles: Safeguard your eyes from any potential splashes or fumes during the soap making process.
-
Wear long sleeves and pants: Cover your skin to minimize the risk of exposure to lye and other chemicals.
-
Work in a well-ventilated area: Ensure that there is proper airflow to dissipate any fumes.
-
Avoid distractions: Focus on the task at hand and minimize distractions to prevent accidents.
-
Keep children and pets away: Soap making involves potentially harmful substances, so it's important to work in a controlled environment away from curious hands and paws.
-
Follow proper storage and disposal practices: Store your ingredients and equipment safely, and dispose of any waste materials according to local regulations.
By following these safety measures, you can enjoy the soap making process while keeping yourself and others safe.
Selecting Your Soap Ingredients
Selecting the right ingredients is crucial for creating high-quality handmade soap. From oils and butters to lye, each ingredient plays a role in the final characteristics of the soap.
Oils and Butters: Building Blocks of Soap
Oils and butters are the building blocks of soap, providing moisturizing and cleansing properties. Here are some common oils and butters used in soap making:
-
Olive oil: Known for its mild and moisturizing properties, olive oil produces a gentle and creamy soap.
-
Coconut oil: Adds hardness and creates a rich, bubbly lather in soap. However, using too much coconut oil can be drying to the skin.
-
Shea butter: Offers moisturizing and nourishing properties, making it a popular choice for soap making.
-
Palm oil: Provides hardness to soap and contributes to a creamy lather.
-
Other oils and butters: There are many other oils and butters that can be used in soap making, such as almond oil, avocado oil, jojoba oil, cocoa butter, and mango butter. Each oil and butter brings its own unique properties to the soap.
When selecting oils and butters for your soap, consider the desired properties and characteristics of the soap you want to create. Experimenting with different combinations and ratios can lead to unique and personalized soap creations.
Lye: The Essential Reactant
Lye is an essential ingredient in soap making as it reacts with oils and fats to create the chemical reaction known as saponification. Here's what you need to know about working with lye:
-
Lye solution: Lye is typically mixed with water to create a lye solution, which is then added to the oils and fats to create soap.
-
Amount of lye: The amount of lye required in a soap recipe is crucial for successful saponification. It must be accurately measured to ensure the right balance of oils and lye.
-
Sodium hydroxide: In bar soap making, sodium hydroxide is the lye used. It is highly caustic and must be handled with care.
-
Safety precautions: When working with lye, it's important to wear gloves, safety goggles, and protective clothing to avoid any contact with the skin or eyes.
-
Lye calculator: To ensure accurate measurements and ratios of oils and lye, it is recommended to use a lye calculator, such as the Handcrafted Soap and Cosmetic Guild's lye calculator.
By understanding the role of lye in the soap making process and taking the necessary safety precautions, you can confidently work with this essential reactant.
Step-by-Step Guide to Making Your First Soap
Making your first batch of soap can be an exciting and rewarding experience. By following a step-by-step guide, you can navigate the soap making process with ease.
Step 1: Setting Up Your Workspace
Before you begin making soap, it's important to create a clean and organized workspace. Here are some steps to set up your soap making area:
-
Choose a well-ventilated area: Select a room with good airflow to ensure proper ventilation during the soap making process.
-
Gather your equipment and ingredients: Make sure you have all the necessary equipment, such as stainless steel pans, digital scale, immersion blender, and silicone molds, as well as the oils, fats, and lye required for your recipe.
-
Prepare your work surface: Clean and sanitize your work surface to ensure a hygienic environment for soap making.
-
Set up your equipment: Arrange your equipment within easy reach, ensuring that you have enough space to work comfortably.
By setting up your workspace properly, you can focus on the soap making process without any unnecessary distractions or hindrances.
Step 2: Measuring Ingredients Accurately
Accurate measurement of ingredients is crucial for successful soap making. Here are some tips for measuring ingredients accurately:
-
Use a digital scale: A digital scale provides precise measurements of oils, fats, and lye, ensuring the right balance of ingredients in your soap.
-
Tare your scale: Before measuring each ingredient, make sure to tare your scale to zero to account for the weight of the container.
-
Follow the recipe: Carefully follow the recipe and measure each ingredient according to the specified quantities.
-
Be consistent: Consistency in measurements is important for achieving consistent results in your soap batches.
By measuring your ingredients accurately, you can ensure the desired properties and characteristics of your soap.
Step 3: Mixing Lye Solution
The next step in soap making is to mix the lye solution. Here's how to do it safely:
-
Set up a well-ventilated area: Choose a well-ventilated area for mixing the lye solution to avoid inhaling any fumes.
-
Wear safety goggles and gloves: Protect your eyes and hands by wearing safety goggles and gloves.
-
Add lye to water: Start by adding the lye to the water, not the other way around. This helps prevent any dangerous reactions.
-
Stir carefully: Slowly and carefully stir the lye into the water using a spatula. Avoid splashing or inhaling the fumes.
-
Allow cooling: Set aside the lye solution and let it cool for about 15 to 20 minutes. It's important to allow it to cool before adding it to the oils.
By following these steps and taking the necessary safety precautions, you can mix the lye solution safely and effectively.
Step 4: Combining Oils and Lye Solution
Once the lye solution has cooled, it's time to combine it with the oils to initiate the saponification process. Here's how to do it:
-
Check the temperature: Ensure that the oils have reached a temperature of 120 to 130°F (49 to 54°C) using a candy thermometer.
-
Add the lye solution: Gently pour the lye solution into the oils, avoiding any splashing. Stir slowly and thoroughly to combine the ingredients.
-
Blend using an immersion blender: Use an immersion blender to further blend the oils and lye solution together. Keep the blender immersed in the mixture to avoid introducing air bubbles.
-
Stir until trace: Continue blending and stirring until the soap mixture reaches trace, which is the point at which the oils and lye solution have thickened and look like pudding.
By carefully combining the oils and lye solution, and blending them thoroughly, you can achieve trace and initiate the saponification process.
Step 5: Achieving Trace in Soap Batter
Achieving trace is an important step in the soap making process. Here's how to know when your soap batter has reached trace:
-
Visual cues: Watch for visual changes in the soap batter. It should thicken and leave a trail or trace when drizzled on the surface.
-
Consistency test: Dip a spoon or spatula into the soap batter and slowly lift it out. If the soap batter leaves a visible trail or trace on the surface before sinking back in, it has reached trace.
-
Immersion blender test: Lift the immersion blender out of the soap batter and observe the texture. If the soap batter forms a peak and holds its shape for a few seconds before sinking back in, it has reached trace.
Achieving trace is an important milestone in soap making, as it indicates that the saponification process has started. This is an exciting moment in the soap making journey.
Step 6: Pouring and Curing the Soap
After achieving trace, it's time to pour the soap batter into molds and allow it to cure. Here's how to do it:
-
Prepare the molds: Grease or line your molds with parchment paper to ensure easy removal of the soap once it has hardened.
-
Pour the soap batter: Carefully pour the soap batter into the molds, filling them evenly to the desired level.
-
Tap the molds: Gently tap the molds on your work surface to eliminate any air bubbles that may have formed during the pouring process.
-
Curing: Place the molds in a cool, dry place and allow the soap to cure for 24 hours. After 24 hours, you can remove the soap from the molds and let it dry for an additional week to harden and improve its quality.
By following these steps, you can pour and cure your soap, allowing it to fully harden and develop its desired characteristics.
Customizing Your Soap
One of the joys of making handmade soap is the ability to customize it according to your preferences. From fragrances and colors to additives for texture and exfoliation, there are many ways to personalize your soap creations.
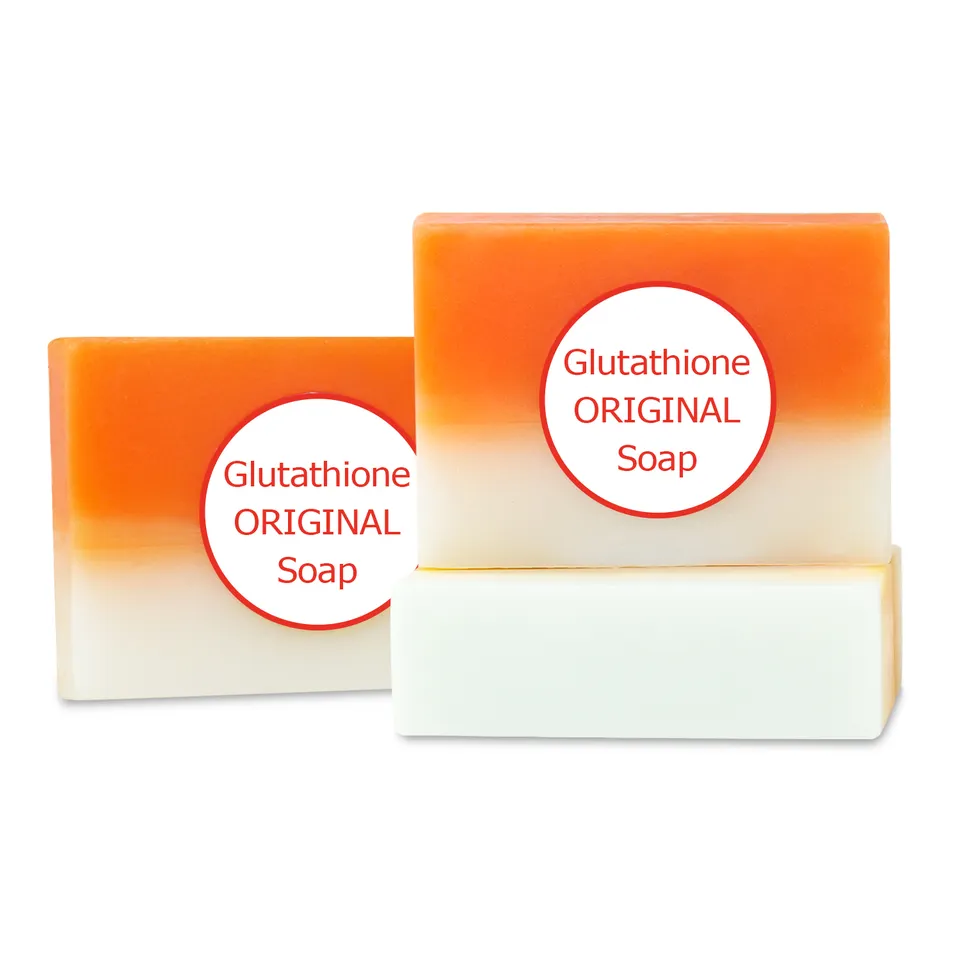
Adding Fragrances and Colors
Adding fragrances and colors to your soap can enhance the sensory experience and create unique and beautiful creations. Here's how to do it:
-
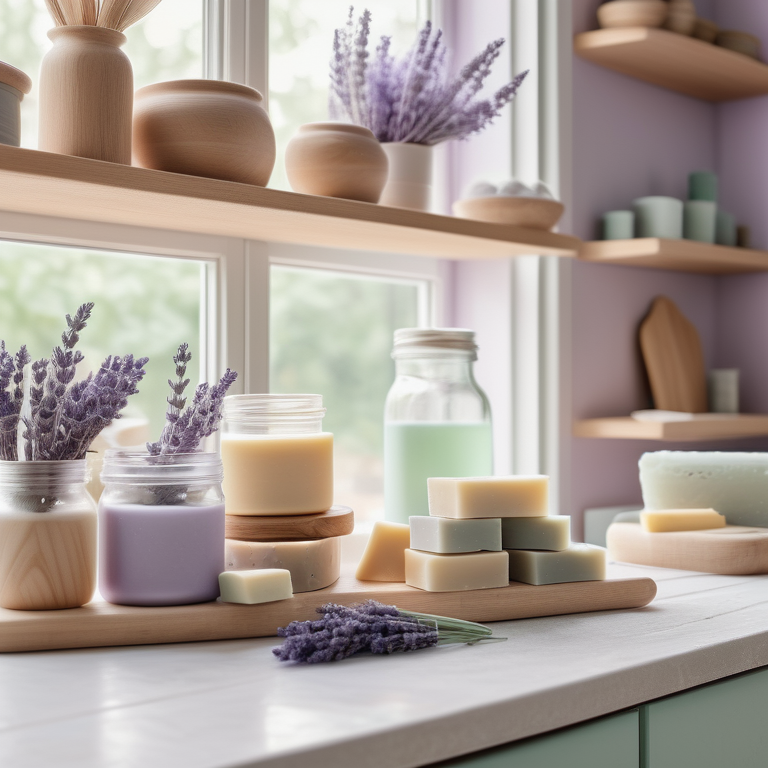
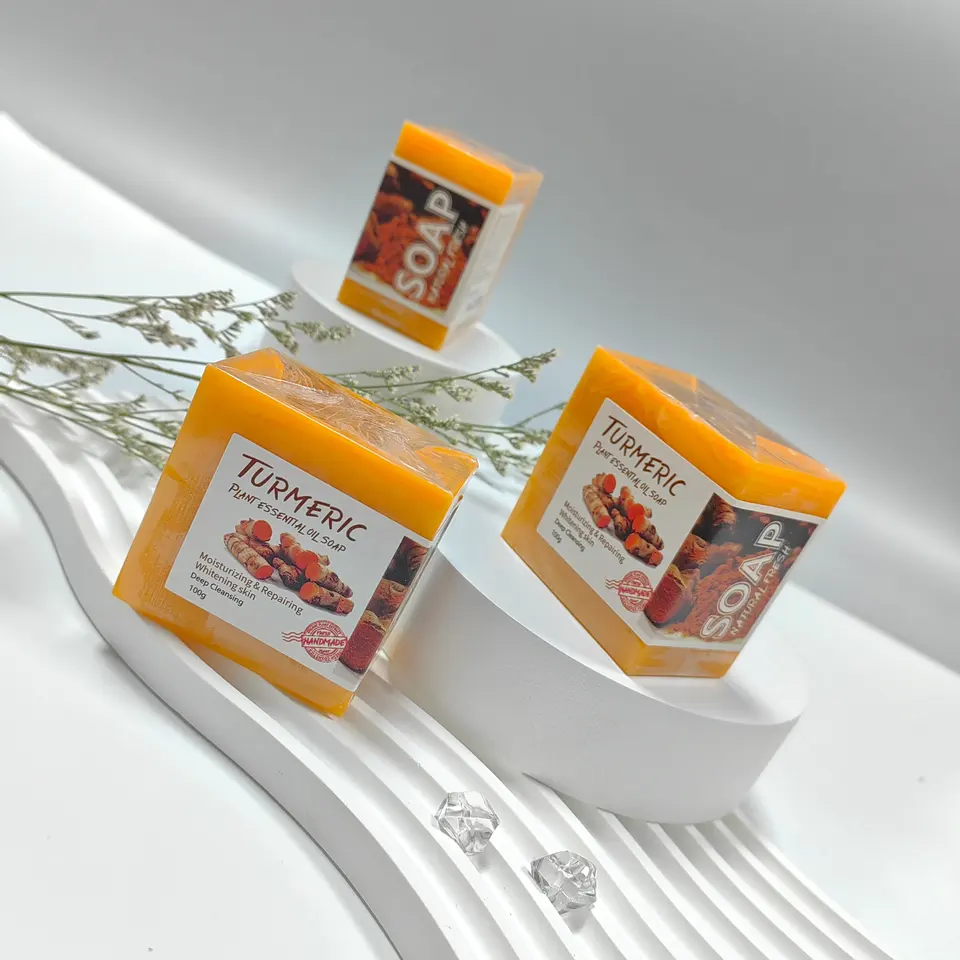
Essential oils: Add a few drops of essential oils to your soap batter to create your desired scent. Some popular essential oils for soap making include lavender, peppermint, and citrus oils.
-
Fragrance oils: Alternatively, you can use fragrance oils, which are synthetic oils specifically designed for soap making. They offer a wide range of scents and are often more affordable than essential oils.
-
Colorants: To add color to your soap, you can use soap-safe colorants, such as micas or natural colorants like clays or botanical powders. Add them to your soap batter and mix well to achieve your desired color.
By experimenting with different fragrances and colors, you can create soap that is not only effective but also visually appealing and aromatic.
Incorporating Additives for Texture and Exfoliation
In addition to fragrances and colors, you can incorporate various additives to add texture and exfoliation to your soap. Here are some popular options:
-
Exfoliants: Add exfoliants like ground coffee, oatmeal, or sugar to provide gentle scrubbing and remove dead skin cells.
-
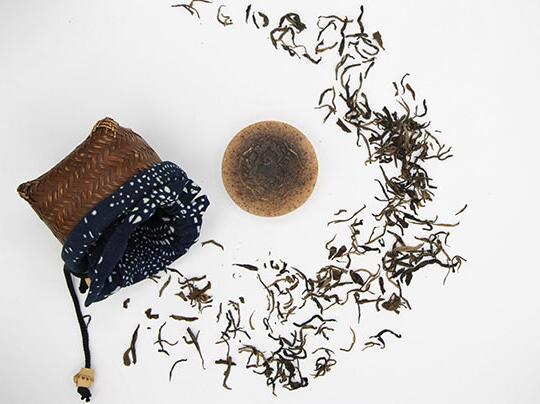
Texture additives: For added texture, consider incorporating ingredients like poppy seeds, dried herbs, or seaweed flakes.
-
Moisturizing additives: Ingredients like goat's milk, honey, or shea butter can provide additional moisturization and nourishment to the skin.
-
Other additives: Beeswax, activated charcoal, or clays can also be used to enhance the properties and appearance of your soap.
By adding these additives, you can create soap that not only cleanses but also provides additional benefits to the skin.
Unmolding, Cutting, and Curing Your Soap
After pouring and customizing your soap, the next steps involve unmolding, cutting, and curing the soap to achieve the final product.
Demolding Your Soap Safely
Once your soap has cured for the appropriate time, it's time to carefully remove it from the molds. Here's how to do it safely:
-
Gently tap the molds: Give the molds a gentle tap on your work surface to loosen the soap and make it easier to remove.
-
Use parchment paper: If necessary, use parchment paper to lift the soap out of the molds, ensuring it doesn't stick or break.
-
Allow the soap to dry: Once removed from the molds, place the soap on a drying rack or a clean, dry surface to complete the drying process.
By following these steps, you can safely demold your soap and prepare it for the next stage of the soap making process.
Cutting Bars to Size
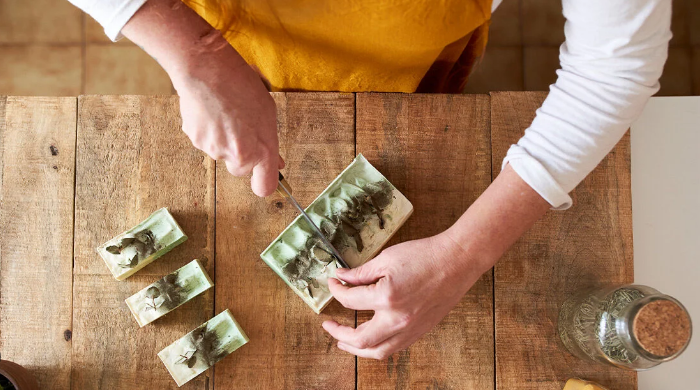
After unmolding, it's time to cut your soap into bars. Here's how to do it:
-
Prepare a soap cutter: A soap cutter with a cutting guide or wire can help you achieve uniform and professional-looking bars.
-
Measure and mark: Measure the desired size of your bars and use a ruler or template to mark the soap for cutting.
-
Cut the soap: Using the soap cutter, carefully cut along the marked lines to create individual bars.
Here's an example of a text table that can be used to illustrate the different bar sizes:
|
Bar Size
|
Dimensions
|
|
Small
|
2.5" x 2"
|
|
Medium
|
3" x 2.5"
|
|
Large
|
3.5" x 2.75"
|
By cutting your soap into uniform bars, you can create a professional and polished final product.
Troubleshooting Common Soap Making Problems
Soap making can sometimes come with challenges, but with the right knowledge and troubleshooting techniques, you can overcome them.
Addressing Trace Issues
If you encounter trace issues during the soap making process, here are some possible solutions:
-
Not reaching trace: If your soap batter is not thickening or leaving a trace after an extended period of blending, try increasing the blending time or using a stick blender for more thorough mixing.
-
Over-tracing: If your soap batter becomes too thick and difficult to work with, try adding a small amount of liquid (such as water or oil) to thin it out and bring it back to a more manageable consistency.
-
Partial trace: If your soap batter starts to thicken but doesn't fully reach trace, continue blending and stirring until it reaches the desired consistency.
By understanding the different trace issues and how to address them, you can ensure a smooth soap making process.
Fixing Separation and Ricing
Separation and ricing are common issues that can occur during the soap making process. Here's how to fix them:
-
Separation: If your soap mixture separates into layers or appears chunky, try blending it with a stick blender or hand whisk to recombine the ingredients. If the separation is severe, you may need to start the process again.
-
Ricing: Ricing refers to the formation of small granules or lumps in the soap batter. To fix ricing, continue blending and stirring the soap batter until the lumps dissolve and the mixture becomes smooth again.
By addressing separation and ricing issues promptly, you can salvage your soap batch and achieve the desired results.
Conclusion
In conclusion, crafting handmade soap at home can be a rewarding and creative experience. Understanding the basics of soap making, selecting quality ingredients, and following safety measures are crucial steps in creating your own soap. By carefully following the step-by-step guide and customizing your soap with fragrances and colors, you can make unique bars that suit your preferences. Remember to unmold, cut, and cure your soap properly for the best results. Troubleshooting common issues and exploring FAQs will enhance your soap making journey. Enjoy the process of creating something special with your own hands.
Frequently Asked Questions
Can You Make Soap Without Lye?
Lye is an essential ingredient in the soap making process as it reacts with oils and fats to create soap. However, if you prefer not to work with lye, you can still make soap using a lye-free glycerin soap base, such as a melt and pour soap.